

Are you wondering if you can build your cattle handling system by yourself?
It can seem a bit daunting at first glance, but the reality is, it’s completely doable. In less time than you probably think.

In fact, many of our customers report they have it set up in just a few hours. Brett, for example, reports that he and his wife had it set up quickly.
“My wife and I set it up in just a couple of hours. Very happy with the process and product. Definitely recommend these guys for all your needs for your farm or ranch needs.”
You don’t need any special tools. What you have in the garage will be great.
And the best news is, no welding required thanks to our panel system. Whether you're investing in new equipment or you're just considering raising cattle for profit, watch this video to get a walkthrough, or read thru this guide.
Building Your Cattle Handling System
Note: If you're installing a squeeze chute, adjustable alley, or other significant accessories at the same time that you're building your handling system, it's smart to build backwards. The chute is the heaviest part of your system and should get dropped first. Then just follow the directions in reverse.
Whether you're upgrading an existing setup or building a handling system for your first herd, this guide offers a quick overview of how you'll set up your system. You'll be up and running quickly.
For printable instructions: download the step-by-step instructions.
Step 1: Plan Your Cattle Handling System Layout
We’re going to assume, at this point, that you’ve researched the best size and system for your needs. We’ll use the 8-10 head cattle system for this walk-thru, but the core steps will be identical.
Invest time in planning your layout before you start moving your panels into place. A well-designed system helps cattle move naturally, reducing stress for both you and your herd.
Choose the Right Location:
First things first, you’ll need to choose a level area with good drainage. Doing so prevents mud buildup and helps ensure stable footing for both you and your herd.
Account for Future Growth:
Although you can move your system in the future, it’s definitely going to be easier to set it up now with room for expansion.
Thanks to our panel systems, expanding your cattle handling system is easy. Simply add some panels to create additional holding pens as your herd grows.
📌 Pro Tip: Haven’t ordered your kit yet? Need help designing your system? We can help!
Contact us today to talk it through. We’re happy to help.
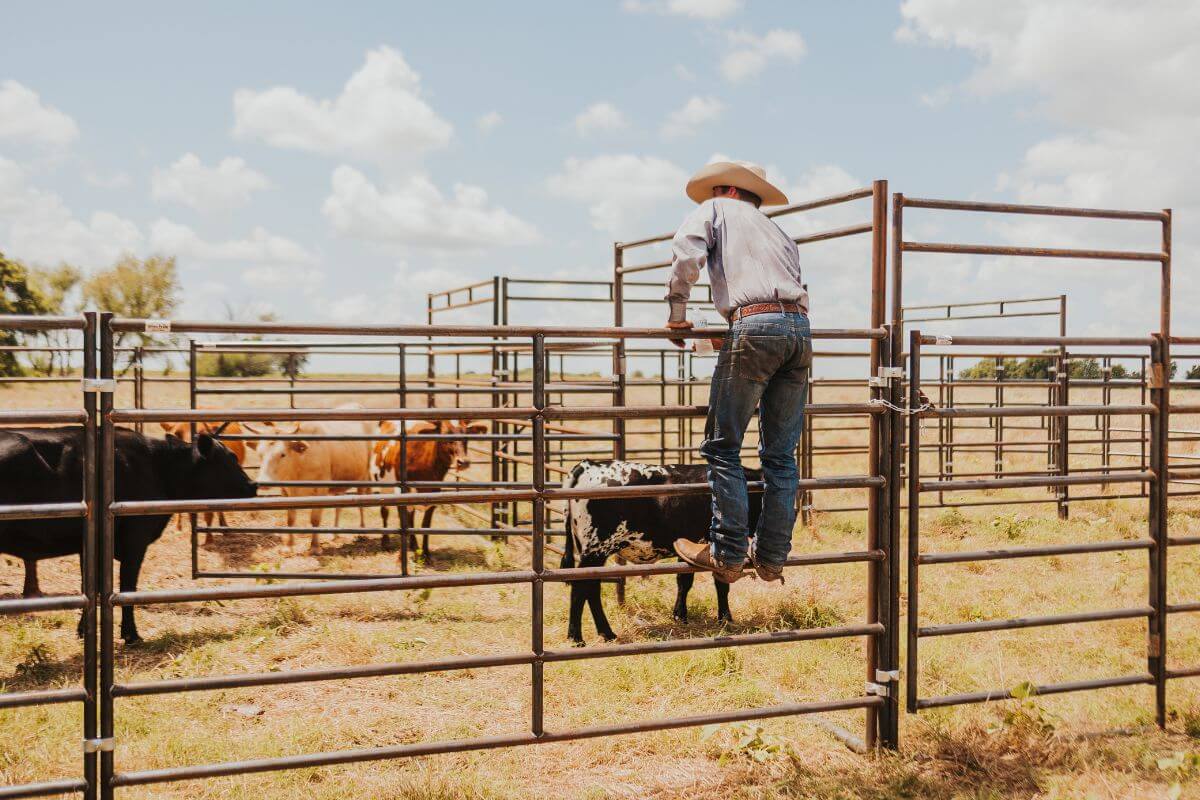
Step 2: Set Up the 20x20 Catch Pen

The catch pen is where cattle enter the system and can be sorted before moving into the alley.
- Start with a 10-foot bow gate at the entrance.
- Secure it by attaching a corner panel using panel adapters (to connect the larger bow gate frame to the standard panels).
- Complete the 20x20 pen by working your way around the square, attaching 5 10-foot panels in a square shape with 1 5/8" panel clamps at each connection point.
- Note: you’ll add one more 10-foot bow gate adjacent to the first one, leading into the sorting pen.
- Double-check the stability before moving on.
Step 3: Install the 10x20 Separator Pen

A separator pen will lead to the sweep and the alley, allowing you to separate out your cattle a few head at a time.
- Extend off the catch pen by attaching an additional 10-foot panel.
- Turn the corner with one more 10-foot panel.
- Add in the panel-gate combo for easy access in and out of the system for handlers.
Secure the 10-foot bow gate at the entrance to the sweep system, making sure the latch mechanism aligns correctly for smooth operation.
Step 4: Set Up the 90-Degree Sweep System

A sweep system ensures cattle move in one direction, eliminating the risk of turning back.
- Attach an 83-inch panel to the bow gate using a panel adapter.
- Secure the alley frame using inch-and-five-eighths panel clamps.
- Install the sweep panels, which include built-in latch points to keep cattle moving forward.
- Close the sweep gate and adjust the panels until the angle is just right before tightening everything down.
📌 Pro Tip: A socket set or impact drill will make tightening the clamps faster and easier.
Step 5: Build the Alleyway

The alleyway moves cattle toward a squeeze chute or trailer for handling.
- Use an inch-and-five-eighths clamp to secure the panel to the alley frame.
- Use three alley frames to provide structure and support.
- Adjust the alley width to ensure smooth movement and verify everything is locked into place.
Optional: Add a Slide Gate
Want more control?
Adding a slide gate lets you control the flow in your alley even more. Customize your setup by adding one or more sliding alley gates based on your herd and handling needs.
Final Thoughts: How to Build a Cattle Handling System
As you can see, building a cattle handling system doesn’t have to be complicated. Thanks to the no-weld installation, you can have it up in a few hours.
Although you can build it solo, we always recommend getting help from a friend, neighbor, spouse, teenager…etc.
Ready to start planning your cattle handling system? Download the free workbook today.